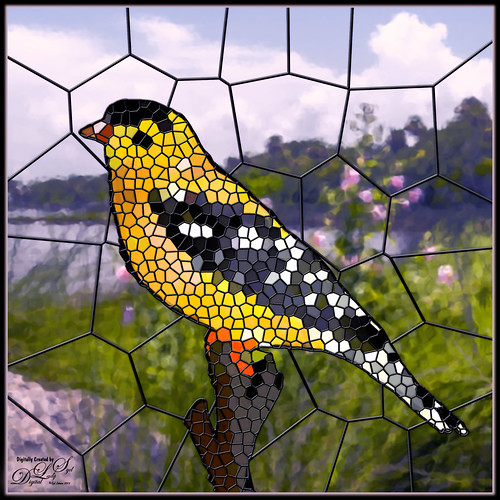
My Stained Glass Birdie!
Had fun creating a different type of image. I found a video from Marty at Blue Lightning called How to Transform Photos into Stained Glass Windows in Photoshop! Marty has been doing PS videos for a long time and has some really nice ones. This video has a lot of steps but overall it is pretty easy. The main filter used was PS’s Filter Gallery-Stained Glass filter in the Texture group. I did need to add some clean up layers underneath the stained glass layer where some of the colors were off. Also had to adjust the layer styles to fit the resolution of my image so the stained glass leading looked right. The bird is one I drew (see my Tidbits American Goldfinch blog for how this was done) – just used the drawn bird and not my original background. This background is from a photo taken of the Halifax River (International Coastal Waterway or ICW) in Ormond Beach, Florida (see my Fun Photoshop Painting Effects – Which Ones to Use? blog that used this photo.) PS’s Filter Gallery-Glass filter in the Distort group was used on it. Overall just enjoyed trying a new effect. …..Digital Lady Syd


Leave a Reply
You must be logged in to post a comment.