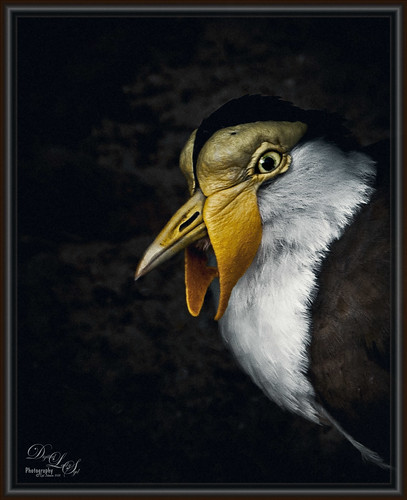
Stately Portrait

Loved the way this bird looks so stately. I actually started this image in Lightroom using Serge Ramelli’s Black and White Contrast Contrast yellow orange-light photo preset from his Urban Look set . I am major hooked on On1 Photo Raw 2018 (see sidebar for website link) Effect’s Dramatic Contrast filter used with the Sharpening filter. On both filters used a layer mask so only the bird was affected. Back in PS used a Red Channel Luminance Curves Adjustment Layer. (See my How To use a Red Channel to Create a Nice Blended Image Effect blog.) Next a Color Lookup Adjustment Layer using the Foggy Night preset set to 32% was added. On a stamped layer (CTRL+ALT+SHIFT+E) used Topaz (see sidebar for website link) DeNoise 6 and painted in areas that needed attention, mainly around the face. An Exposure Adjustment Layer was used on the eye and set to 88%. (See my The Eyes Have It – How to Make Them Pop in an Image blog.) A Digital Grain Layer was added over the whole image. Last step was to finish up with one of my frames (see my How to Create a Quick Layer Style Border or Frame blog). I love my birds!…..Digital Lady Syd


Leave a Reply
You must be logged in to post a comment.