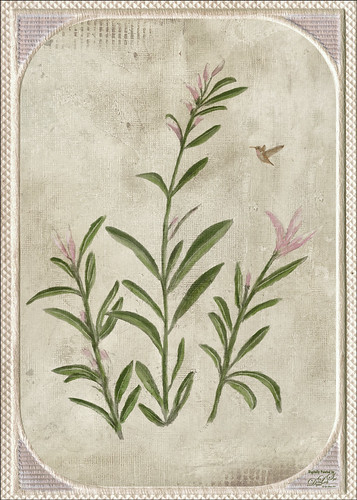
Checking Out the Buds

Still practicing drawing and painting. This image I just followed the same workflow from my Some Flower Power blog which created an original sketch layer and several painting layers for the flowers. Next the Hummingbird was painted on a layer using a bird brush created by just turning an old bird image into a black and white and defining as a brush preset – actually used two different colors and softened the edges a little. Kim Kassen’s Stay texture (not sure it is still available) was placed on top and really gives the vintage feel to the image. A Hue/Saturation Adjustment Layer was clipped to it (ALT+click between layers) to desaturate the texture color a little. The border is from On1 Hundred Borders set. The three final steps were performed that I almost always use at the end of my workflow: a Red Channel Luminosity Adjustment Layer, Nik Viveza 2, and a Black and White Adjustment Layer. I am starting to enjoy creating the flower paintings……Digital Lady Syd


Pingback: REBLOG – GET INSPIRED USING YOUR FAVORITE TEXTURES | Digital Lady Syd's Fun Photoshop Blog