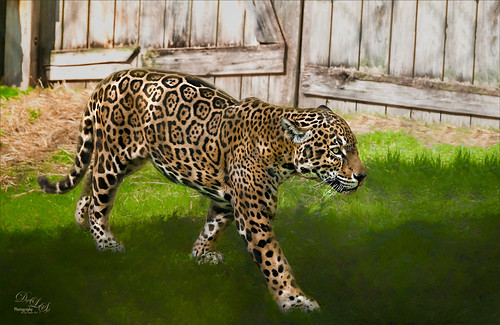
Finding the Shade

This jaguar started off as not a very pretty image at all – his lower foot was cut off, but the wood fence looked really good so I decided to process it. The image was taken at the Jacksonville Zoo behind a chain-linked fence where light shadow lines were throughout the image. In Lightroom Dave Delnea’s Backlight _Vertical_Left preset was applied and the settings adjusted. Used the Adjustment Brush to add a little Clarity and Sharpness to the just the face and ears. In Photoshop first the canvas had to be extended at the bottom and on the right side – filled some of the area using the Rectangular Marquee Tool and with Content-Aware Fill. Then the back foot was selected and copied (CTRL+J) to put on its own layer. The Free Transform Tool (CTRL+T) was used to add the bottom of this front leg and the spot Healing Brush was used to blend it all together. Topaz (see sidebar for website link) Impression 2 was used to blend some of the dark chain-linked fence shadows out and the spot Healing Brush was also used to remove them. Jai Johnson’s Oil Glaze preset (see video to create) was used and most of the jaguar was painted out on a layer mask. On a stamped layer (CTRL+ALT+SHIFT+E) Lucis Pro was opened and the Detail was set to 113. Then just parts of the jaguar were painted back in the mask to add more detail to the face. A Red Channel Luminosity Curves Adjustment Layer was added next. On another stamped layer, Nik Color Efex Pro was opened and the Pro Contrast filter with the Dynamic Contrast set to 41% and the Darken/Lighten Filter were applied. It took a bit of time to work out the problems in this image, but the results were worth it!…..Digital Lady Syd


Leave a Reply
You must be logged in to post a comment.