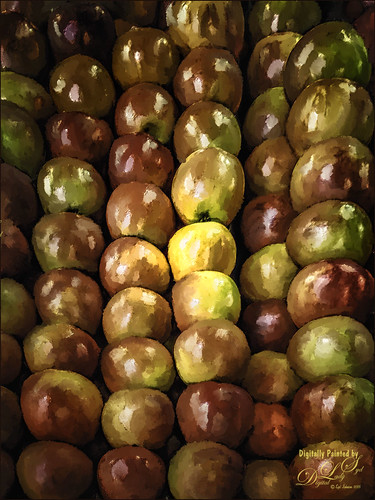
Painted Apples

Not sure what inspired me to paint these apples from image taken at the local grocery store, but I did. The image was first opened in Lightroom where the basic image was adjusted, then in Photoshop. After some clean up, a stamped layer was created on top (CTRL+ALT+SHIFT+E) where Topaz (see sidebar for website link) Clarity was applied using the Landscape III preset. Next on a duplicate layer, Nik Color Efex Pro 4 was used (used Cross Processing Method L05 at Strength 27%; Darken/Lighten Center set to Shape 1, Center Luminosity 73%, Border Luminosity -46%, and Center Size 24%; Low Key Glow 0%, Standard Low Key 6%, Dynamics Low Key 0%, Sat 56%, Whites 3%, and Contrast 72%; and Detail Extractor 22%, Contrast 14%, Sat 25%, Shadow under ow, and Highlights under hl). On a New Layer above, used a Blender Mixer brush using property bar settings of Wet 100%, Load 1%, Mix 100%, and Flow 100% and set to Sample All Layers – turn off Load Brush After Each Stroke so it will just be a blender and mix the colors underneath. I am not sure which brush I used, but any brush you like should be a nice blender with the above settings. On a new Stamped Layer, Nik Viveza 2 was used to add focus to the center area. Last step was a Curves Adjustment Layer. I also painted this in Corel Painter and got a much more abstract look. Will probably show that version in a later post. Anyway, love the Photoshop Mixer Brush effect on these apples!…..Digital Lady Syd


Leave a Reply
You must be logged in to post a comment.