Simply Glowing!

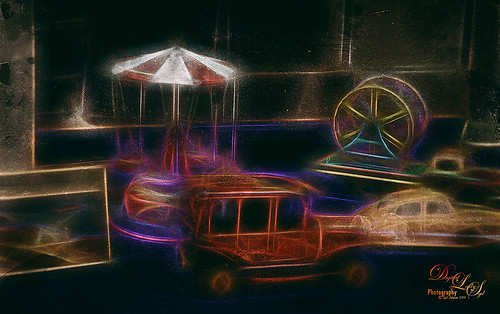
This an image of some vintage toys taken at a local antique show. The new Topaz (see sidebar for website link) Glow plug-in was applied to get this rather classic application of the plug-in. In Lightroom Seim’s (see sidebar for website link) Crosslight Warm preset was applied before bringing the photo into Photoshop. The layer was duplicated and Photoshop’s Shake Reduction filter was applied. This layer was duplicated and this time Topaz Glow’s filter was opened and Fractals II preset was used. Next Nik’s Analog Efex Pro 2 was applied and my SJ Wet Plate preset was selected. (Settings for this plug-in included: Basic Adjustments with 6 individual control points placed on each item to set the Detail Extraction, Brightness, Contrast and Saturation for each – this creates the darker background in the image; Photo Plate Strength 82% set to Corroded using the middle plate; Lens Vignette Amount -22, Middle between Circle and Rectangle, and Size 83%; Film Type Subtle 1st row/4th down set toward Faded, Strength 89%, Grain per pixel 500, and Soft/Hard in the middle; and Levels & Curves slight S-curve in Luminosity channel.) This is the really interesting final look that happened by combining these plug-ins. I do like the new Glow filter and am still learning how to use it to get some new effects. Just love trying new filters out – totally fun!…..Digital Lady Syd


Pingback: DIGITAL LADY SYD REVIEWS TOPAZ GLOW | Digital Lady Syd's Fun Photoshop Blog
Pingback: HOW TO GET THE SOFT GLOW IN TOPAZ GLOW | Digital Lady Syd's Fun Photoshop Blog