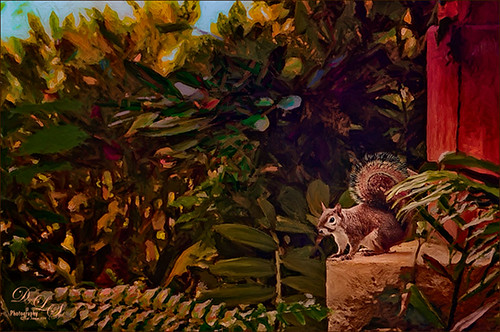
Squirrel Resident at Universal Studios

This was probably not the greatest image but I loved the way the squirrel’s tail looked so I had to do some processing on this photo. This shot was actually taken once again at Universal Studios Orlando. I wanted a painterly look, but I did not want to spend a lot of time painting it since it was not the best original image. Trey Radcliff‘s Gradient Endless Weekend Lightroom preset was applied. The photo was opened in Photoshop CC and the Shake Reduction Filter was used. Next Topaz (see sidebar for website link) Detail 3 was used to overall sharpen the image. A black layer mask was added and just the squirrel and the closer plants were painted back. A stamped layer (CTRL+ALT+SHIFT+E) was created and turned into a Smart Object where Alien Skin’s Snap Art 4 was opened. I used a preset I had created in Snap Art 3 based on the Historic Oil Paint preset (settings were Background – Brush Size 14, Photorealism 23, Paint Thickness 77, Stroke Length 63, Color Variation 0, and Bristle Brush Brush Style; Detail Masking – on Squirrel, Effect Detail, Brush Size -10, Photorealism 100, Paint Thickness -40, Stroke Length -49, Color Variation 36 and Brush Style Bristle Brush; and on mid-back leaves, Effect Detail Brush Size 23, Photorealism -59, Paint Thickness 73, Stroke Length 79, Color Variation 85, and Brush Style Bristle Brush; and Colors Brightness -38, Contrast -14, Saturation 33, and Temperature 36; Lighting – Default; and no other settings used). Using Photoshop’s Flat Fan Single Bristle Wet Edge brush as a Mixer, the overly bright spots were blended in on a separate layer. Next Topaz ReStyle Rustic Red and Orange preset was used (the settings used are ReStyle Color Style Lum Third -0.48 and Fifth -0.39; Texture Strength 1.00; Basic Tone Black Level 0.11, Midtones -0.31, and White Level 0.30; and Detail Structure 0.11 and Sharpness 0.73). This turned the image color palette into a bit warmer feel. Nik Viveza 2 was added to add a little more tonality to just the squirrel and add some blue into the sky. The last step was to use Photoshop’s Radial Filter in Camera Raw on just the squirre to draw further attention to him. It was a lot of steps but always fun to do……Digital Lady Syd


Leave a Reply
You must be logged in to post a comment.