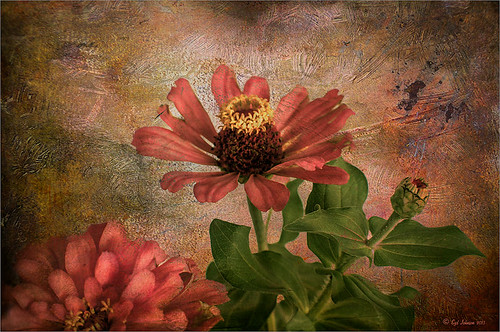
Painterly Textures to Create a Beautiful Floral Image

Recently purchased some textures from Distressed Textures so I decided to show them off using a Zinnias image. In Lightroom the basic sliders were adjusted and the David duChemin Milford Greens preset. (See my How to Use Adobe Camera Raw (ACR) or Lightroom 4 Quickly blog.) Then the image was brought into Photoshop where for a very simple workflow. Just some flower clean up. A new darken layer was created above to burn in the edges of the flower petals (see my The Best Dodging and Burning Technique! blog). Then three Distressed Textures were applied: 1) The Artists Palette Lost Canvas set to Darken at 97% layer opacity; 2) The Spring Inspired Cherry Cotton Candy (love the name of this texture!) set to Multiply blend mode at 100% opacity; and 3) The Artist’s Palette I Dream set to Overlay at 70% layer opacity. The first two textures had layers masks applied and the flowers were painted back softly with a largish black brush. The last step was a Curves Adjustment Layer to add contrast back into the photo that the textures tend to remove. That was it – I love the vibrant colors in this combination of textures……Digital Lady Syd
Digital Lady Syd Related Blogs:
Coral Pink Blanket Flowers
Texture Resources – So Many Choices! So Many Choices!


Leave a Reply
You must be logged in to post a comment.