Springtime!

Just had some fun trying a couple new techniques that I learned this week. One involved using the Diffuse Filter to help blend in a composite object and the other was to use Content Aware Scale to put an image into portrait mode from landscape. Both new techniques worked pretty well. Also used the Topaz Studio Impression Adjustment to create an interesting painterly look. The font is Spring Vibes. Will be blogging on these techniques down the road. ……. Digital Lady Syd
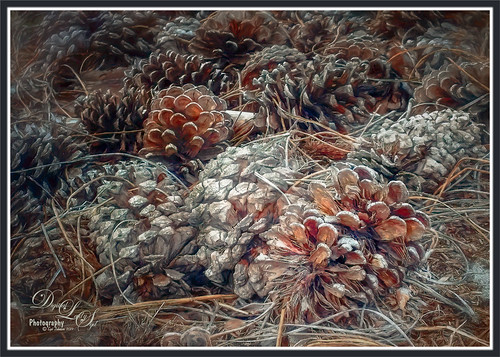
Senior Neighborhood Pine Cone Meeting Today

The old Pine Cones were all having a giant convention underneath a couple of their favorite Pines trees. I decided to sneak up on them and get an image of part of this large group. Since I took this image with an older Android phone, it was not one of the best but I liked it. Therefore I ran the image through Topaz (see sidebar for website link) JPEG to Raw AI program which produced a Raw tiff file. (See my What Is Topaz’s New JPEG to RAW AI? blog.) Then the image was opened in Adobe Camera Raw and adjusted before going into Photoshop. The image was first run through Nik’s Color Efex Pro. Then a Saturation mask was created for a Hue/Saturation Adjustment Layer. Some spotlight effects were created on the cones. Then Topaz Studio was opened were AI Clear, HSL Color Tuning, and Impression’s default with Type 03 brush was applied. That was it. It was a lot of fun to post-process!…..Digital Lady Syd
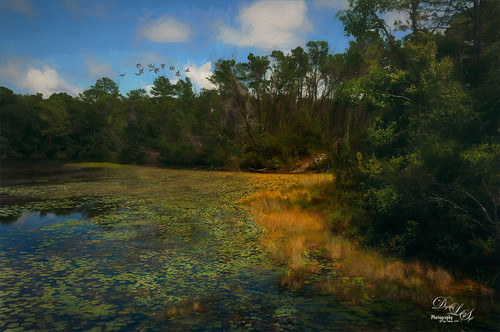
Graham Swamp

Graham Swamp is a place I have photographed many times. It is not really that pretty most of the time, but this fall it contained just enough color to create this image. And Topaz (see sidebar for website link) came to the rescue for me. In Studio, the new AI Clear Adjustment was terrific on this type of image. Really helped sharpen up all the little details without over-sharpening them. Learned a new workflow from a Topaz Webinar by Joel Wolfson called The Simple Path to Stunning Images with Topaz. Not sure it is posted yet, but do check out the Topaz webinars – there are some really informative ones like this one. Basically it uses Topaz Adjust to adjust exposure without losing the Shadows or Highlights in the image. I had forgotten this and it is a very useful tip. So here is the tip: since the Adaptive Exposure slider is connected to the Regions slider, use them in together – the higher the Adaptive Exposure amount is, the more Regions should be set. Used the Dehaze, Precision Contrast, Precision Detail Adjustments, and somewhere in the mix some Impression and the ReStyle Plugin. Turned this rather dreary image into a beautiful autumn look…..Digital Lady Syd


