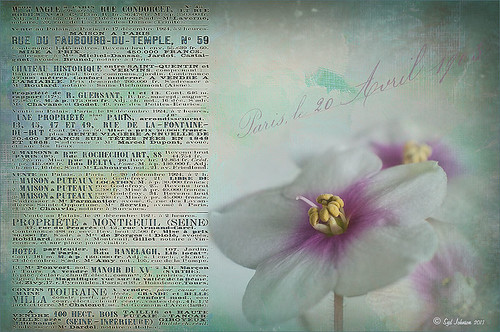
These beautiful violets I recently bought at Wal-Mart and they are so pretty. They really like the filtered light from my south facing window in my kitchen. I used my handy, dandy 60 mm Nikkor macro lens at F/4.8, 1/90 sec, and ISO 200. A Bower 0.5 x High Resolution Digital Lens with Macro was added to the lens. In Lightroom 4 I just followed my workflow in my blog How to Use Adobe Camera Raw (ACR) or Lightroom 4 Quickly. I painted over the center of the flower using an Adjustment Brush set to a high sharpening and just a little Clarity. In Photoshop a Curves Adjustment Layer was used to selectively remove a shadow behind the front flower (see my Using Curves Adjustment Layers to Get Rid of Shadows and Highlights blog). Painted Textures Seafoam textures was added and just the flower lightly painted back using a white layer mask and painting in black. Next 2 Lil’ Owls Affetto Grunge Mosaic texture (see sidebar for website link) was added and the center painted out so only the darkened edges remained on most of the image. French Kiss’s Vintage French Brush No. 2 set -Dec 1924 was placed on the left side of the image and set to 89% opacity. A Layer Style was opened on this overlay layer. A dark Stroke set to 3 pixels inside was added, a Pattern Overlay using that wonderful default Photoshop pattern Bubbles was checked to add some variation in the text (I think this is the first time I have ever used it!), and an Outer Glow at 39% opacity was used. A Color Fill Adjustment Layer was clipped to the overlay and set to a light blue color. On the upper right French Kiss’s Vintage French Brush 1903 (same link as above) writing was applied and another Color Fill Adjustment Layer was clipped using the purple color from the flower. That was it! Lots of fun to do!…..Digital Lady Syd
04/11/2013 | Categories: Photo Art, Photography, Textures | Tags: 2 lil Owls textures, flowers, French Kiss Textures, macro, Painted Textures, Textures, violets | Leave A Comment »

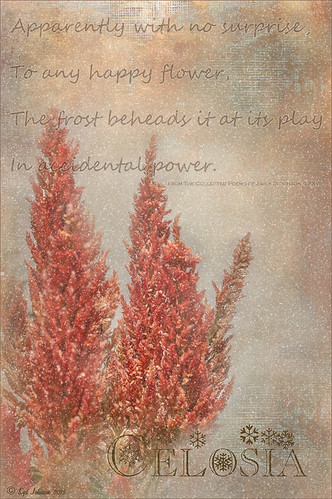
Once again here is an image I never thought I would process, but thanks to all the beautiful textures out there, the flowers end up looking like I remember them – well sort of – minus the snow. These Celosia flowers were taken in the courtyard at Flagler College (the old Ponce de Leon Hotel) in St. Augustine, Florida. This image was first processed in Lightroom where cropping and Basic Panel sliders were adjusted. An Adjustment Brush was applied to sharpen some of the foreground flower tips. In Photoshop Melissa Gallo of Painted Textures in her tutorial video Turn Your Photo into a Pastel Painting, Pencil Drawing or Pen and Ink, the second example, was followed. First the background was duplicated and the top row was set to Screen Blend Mode. A black layer mask was applied and with a white brush, the dark areas of the flower was painted in white to lighten the color on the mask. A Levels Adjustment Layer was applied the Midtones set to .78 to increase contrast just a little. A composite was created on top (CTRL+SHIFT+ALT+E). Next 2 Lil’ Owls Mosaic Set’s Claude texture (see sidebar for website link) was added and a layer mask added where the flower was painted back into the image using a soft 30% opacity black brush. A text layer was added showing the name of the flower using Flakes font at 131 pt size and a brown color. Another line of text was created using a quotation from Emily Dickinson using Chopin Script font and set to a grayish brown color. My free SJ Snow Overlay-slight blur was duplicated several times, merged, and set to 75% opacity. A Curves Adjustment Layer was the last step to add a little contrast. I loved the final result, and for some reason the snow just added a special effect to a red flower look…..Digital Lady Syd
02/19/2013 | Categories: Textures | Tags: 2 lil Owls textures, flowers, free overlay, Melissa Gallo textures, Textures | Leave A Comment »


