Love the Tryptych in Nik Analog Efex Pro 2!
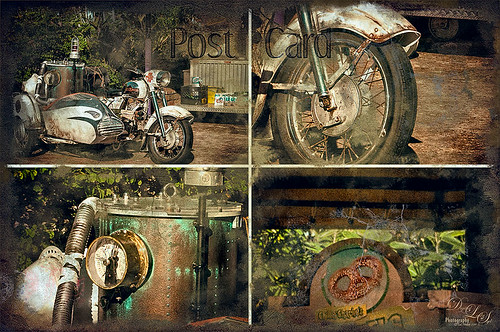
Universal Studios Orlando has so many interesting shooting places – this would have looked great with a person sitting on the bike too. Used the new updated Nik Analog Efex Pro 2 to get this great four image triptych effect. It uses the same image but each section can be manipulated individually. This is a lot of fun to do with an image that has a lot of areas to look at closely. The filters used in this plug-in were the Basic Adjustments with Detail Extraction at 66% and Brightness at -17%; Film Type Bolton 3 at 91% Strength; and Multilens with Variation Strength set to 73% and Variation Type 5. Back in Photoshop Shadowhouse Creations Old Post Set PCB texture (a free download) was added on top. A white layer mask was added and with my Charcoal Brush (Adobe’s Charcoal Brush 60 with an added 19% Angle Jitter in Shape Dynamics section of the Brush Panel to get a different angle with each stroke), the areas I wanted showing were painted back in leaving an interesting border effect. A Curves Adjustment Layer was added to bring back some contrast and a New Layer was used to paint in a little grunge for more vintage feel. On a New Layer, the Sharpen Tool was used to just sharpen up the focal areas in each section. The last step involved added Topaz (see sidebar for website link) ReStyle using the Peat and Rock Preset at 74% opacity. This really popped the image. This was lots of fun to work on!…..Digital Lady Syd
Digital Lady Syd Related Blogs:
How About That Update to Nik Analog Efex Pro 2?
Vase of Spring Flowers
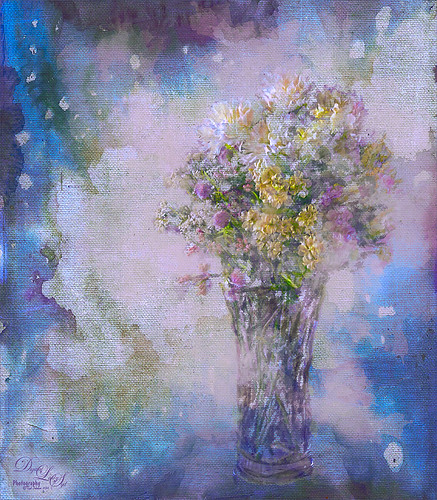
Just a vase of spring flowers that I decided to paint using Photoshop’s mixer brushes. I first increased the contrast of the flowers so they showed up sharp using Topaz (see sidebar for website link) Detail 3 – I do this a lot when I want a nice overall sharpness to an image. Also used a Curves Adjustment Layer to add some contrast to the image. 2 Lil’ Owls Stained Glass 25 (see sidebar for website link) was added on top and the flowers painted back in a layer mask. Next a new layer was added where some soft pink color was lightly brushed onto the layer to add a little more color around the flowers. The last major step was going into Topaz ReStyle and using the Light Pastel Daisies preset which changed the texture color from turquoise to more bluish tones. Love the result. …..Digital Lady Syd
Where Am I?
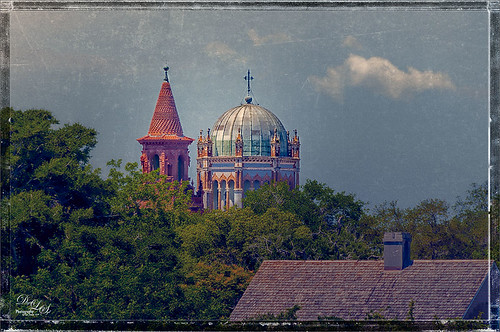
This beautiful skyline image was taken from the Castillo de San Marcos National Monument in St. Augustine, Florida. This is a spire from Flagler College (the old Ponce de Leon Hotel) and the cupola on the Flagler Memorial Presbyterian Church. In Lightroom did just basic changes and sharpened up the spire and cupola slightly. In Photoshop the first thing I did, and do a lot, is go into Topaz (see sidebar for website link) Detail 3- this time applied the Soft and Dreamy III preset to smooth out the leaves that were overly sharp and to reduce the detail in the close up roof. I changed the Cyan-Red, Magenta-Green and Yellow-Blue sliders (similar to the Color Balance Adjustment Layer) to get better colors. Some of my clouds (see my free Cloud Brushes) were added softly in the sky at 69% layer opacity. Kim Klassen Cloth & Paper Reign texture was used to add interest in the sky. Next Topaz ReStyle’s Warm Sand Dune Wash preset was applied to pop the colors a little. On a stamped layer (CTLR+ALT+SHIFT+E) the Camera Raw filter ‘s Radial Filter was applied to focus in on the spire and cupola. On another stamped layer OnOne (see sidebar for website link) Perfect Effects 8 was opened and a Blue-Yellow Split Tone set to a Balance of 81 was added, some detail painted back on the spire and cupola, and the Martha Border was the last step before saving back in Photoshop. I love beautiful St. Augustine!…..Digital Lady Syd
Digital Lady Syd Related Blogs:
OnOne’s Perfect Mask Works Great!
Some of My Favorite Plug-Ins
Loving Both Filters!
Dahlia Flowers Chatting with the New BLooms
Just a couple of pretty dahlias growing in my front yard. I really loved the nice spring colors. This time I created a selection of the flowers and added French Kiss Tableaux Madeleine texture behind them. French Kiss Tableaux Halcyon was added on top and the flowers painted back with a large soft brush so most of the image was revealed – just the edges and some of the stems were not completely revealed. A new layer was placed on top and the Mixer Brush was used to blend the flower petals to give a slightly painterly feel to them. French Kiss Studio 3 White Wash texture was added on top and set to 13% opacity. A layer mask was added and the darker flower was painted back very softly to help draw the eye there subtly. On a composite layer on top (CTRL+ALT+SHIFT+E) Topaz (see sidebar for website link) ReStyle’s Cream and Plum preset (one of my favorites in the filter) was applied to give a little more purple color to the image. This filter can really give a better color palette and there are so many choices it was heard to choose one. A frame I had created in Corel Painter was placed on top as a last step. Lots of fun to created!…..Digital Lady Syd
Pretty Hats
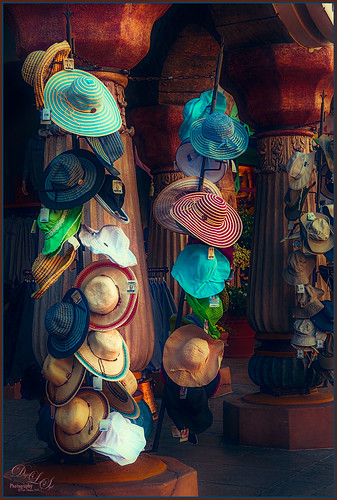
Had to take this image of these really cute hats. Topaz (see sidebar for website link) Detail 3 was applied first in Photoshop to add some general sharpness to the image. Then Topaz Restyle’s Waterloo and Mint preset was added – loved the resulting rich colors that were achieved. The last step was added three Camera Raw Filter Radial Filters to bring the focus of the image on the hats to the left. Add my SJ Thin Double Edge Frame using sampled colors from the image to match. I really enjoyed seeing these hats – so pretty!…..Digital Lady Syd
Where Am I?
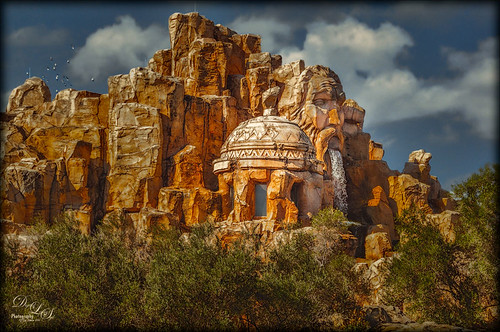
Loved the result of this interesting structure taken at Universal Studios in Orlando, Florida, that houses a The Eighth Voyage of Sindbad Stunt Show. This image originally had a really ugly sky in it, so I added one of my skies I took over the Intracoastal Waterway when sailing – much nicer looking with clouds! The birds were actually in the photo. Refine Edge was used to get a nice demarcation between the new sky and the rocks. Topaz (see sidebar for website) Detail 3, Topaz ReStyle using Orange Orchard preset, and Topaz Adjust using French Countryside preset were all applied. In Photoshop the Camera Raw Radial Filter was used to direct to the dome as the focal point. That was it. One of my favorite images from the day!…..Digital Lady Syd
Some Crazy Painting!
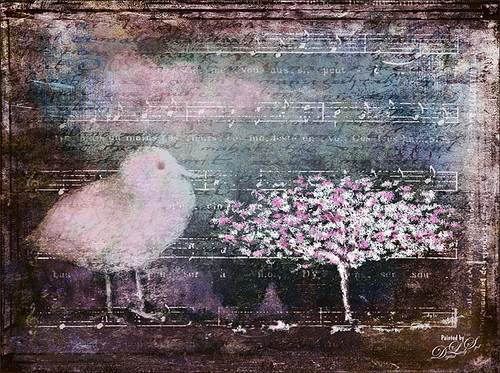
Just having some fun with this image. A while back I did a blog on creative work called How to Create an Image from Nothing. This image was created in a very similar. This image totally combined painting in both Photoshop and Painter. I am finding I like some of the brushes in Painter better than those in Photoshop, but I am better at blending my images in Photoshop. Therefore I keep bringing in things created in Painter into Photoshop and put it all together. Not sure I will ever be able to reconcile the two programs, but at least I am getting my own technique. This image background was French Kiss Studio 3 White Wash – my favorite white texture. Two of 2 Lil’ Owls Studios (see sidebar for website link) Textures were used, the border is from ViVa Penmanship Mask 3, and the music from Kim Klassen Music and Script brushes from her Test Kitchen. Topaz (see sidebar for website link) ReStyle was used to create the beautiful final colors in the image. My free SJ Clouds 1 and 8 are also in this image. The chicken is a Painter brush by Karen Sperling called birdies. Rather crazy effect but lots of fun to do!…..Digital Lady Syd
Painting the Old and the New
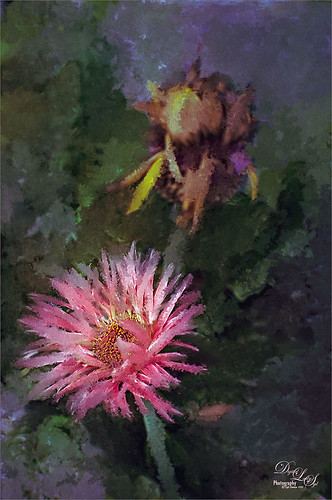
I call this image The Old and The New – these pink gerbera daisies were growing on my back porch. Pretty basic steps here. A pastel mixer brush was used to paint the image on a New Layer above the background layer. French Kiss Collection’s Atelier Valley texture set to Hard Light at 60% opacity was added on top. Topaz (see sidebar for website link) Detail 3 was used to localize the sharpening on the flower with a black mask and painting the effect back in. What really made this image was applying Topaz ReStyle and getting a more interesting color combination. Some contrast was supplied with a Curves Adjustment Layer. Just a lot of fun!…..Digital Lady Syd
Mixers for Margaritas!
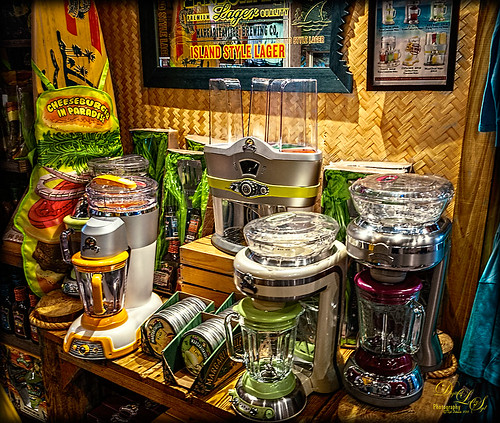
Totally loved this display taken at the Margaritaville on City Walk, Universal Studios, Orlando, Florida. I could actually see myself making up a wonderful batch of Margaritas with one of these gorgeous mixers! There really was not much processing done here. Just a few basic sliders and some cropping in Lightroom. Did some LAB sharpening this time since there were so many details. ( See my Unsharp Mask Filter In LAB Mode blog for more info on this.) Topaz (see sidebar for website link) Detail 3 was used to sharpen a little more. A Color Balance Adjustment Layer was added and the Midtones were set to 0/-25/-60 to bring out the yellows in the texture a little more. Last step was Topaz ReStyle – just overall brightened up the image. (ReStyle settings: Started with Dark Goldenrod Sunset preset. Color Style Hue Fifth -0.50; Sat Primary 0.08, Secondary 0.02, Third 0.25 and Fifth 0.13; and Lum Primary -0.41, Secondary 0.31 and Fifth -0.03; and Texture Strength 0.72; Basic Tone Black Level -0.12, Midtones 0.09, and White Level 0.11; and Detail Structure 0.28, and Sharpness 0.06.) Just more fun in Photoshop!…..Digital Lady Syd
Using Pattern Overlay Layer Style to Get a Retro Feel
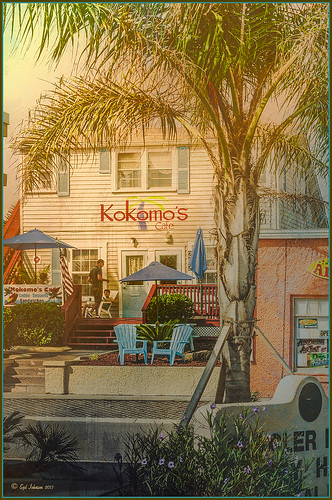
Had to visit Kokomo Cafe on Flagler Beach in Florida since I grew up in Kokomo, Indiana. Wonderful little place to get a nice breakfast (the pastries are to die for) or lunch and only a block off the beach. Did the regular processing in Lightroom before opening up in Photoshop. Painted Textures Mist was added and the Layer Style was opened. A Gradient Overlay using a Linear Dodge (Added) at 24% opacity and using Grad 2 gradient and a Pattern Overlay was added using the original image turned into a pattern (on background layer go to Edit -> Define Pattern – it appears at bottom of list) and set to blend mode Hard Light at 54% opacity and Scale to 120%. Now you can actually turn off the bottom layer and image shows up in the texture. Pretty cool! A Levels Adjustment Layer was added with black tab setting of 14 and Midtone setting of 0.71 to add contrast back into the image. Topaz (see sidebar for website link) ReStyle was added using the Hanging Orangutan preset. (Plug-ing settings were: ReStyle Opacity to 76%, Color Restyle changes: Sat Third (-0.41) and Fourth (-0.39); and Texture Strength 0.73; Basic Tone Midtones (-0.23); and Detail Structure (-0.67) and Sharpness 0.81.) Nik Viveza 2 was added using three control points to direct attention into the center of the image. The last step involved adding my free SJ Thin Double Edge Frame, sampling the Inner Glow color from the image. Once again there is a nice retro feel to this image, which so fits the area…..Digital Lady Syd
Digital Lady Syd Related Blogs:
How to Add a Little Retro to Your Shots
Conquering Painting in Photoshop!
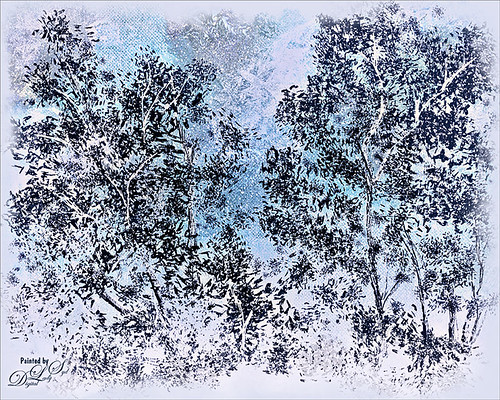
I have finally found someone who can relate to me exactly how to get a beautiful painterly look in Photoshop. This image was made following one of the many videos that Melissa Gallo at Painted Textures created for her Painting with Photoshop Workshop. After painting the trees, one of the provided textures for the workshop, Sea Storm Canvas, was set to Pin Light at 73% opacity and my SJ Snow1 Overlay was added. Now, I attempted to apply a little Digital Lady Syd on the image by taking a stamped layers (CTRL+ALT+SHIFT+E) into Topaz (see sidebar for website link) ReStyle and applied the Peppermint Gray preset to adjust the colors a little. (ReStyle settings: Set ReStyle section blend mode to Color; Texture Strength to 1.00; Basic section blend mode to Multiply; Color Temp -1.00, Tint 0.38, and White -0.56; Tone Black Level -1.00, Midtones 0.42, and White Level -0.56; and Detail Structure 0.97 and Sharpness -0.30.) Then added my watercolor border with color sampled from the image in a clipped Color Fill Adjustment Layer. Last step was to take the whole image into the Camera Raw Filter and add the radial filter for some saturation and clarity to draw the eye to the center of the image. If you are interested in learning painting techniques like this, look into getting her workshop. These are some of the best Photoshop videos I have followed. This is nothing but fun! — and that is what it is all about!…..Digital Lady Syd
Fire Brigade Bike
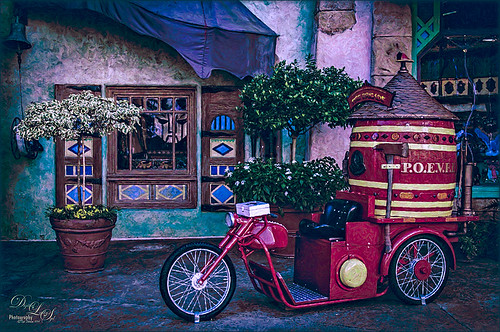
Finally got to see Universal Studios Islands of Adventure section in Orlando, Florida. This image of a Fire Brigade bicycle was one of the first things I saw – very unusual item so had to take a picture. Had to get a little creative though since that is what I do! This time Trey Radcliff’s Biting Icecream preset was applied in Lightroom along with some basic slider adjustments. In Photoshop Topaz (see sidebar for website link) Adjust 5’s Photo Pop preset was added next. Then just a bit of sharpening using Topaz Detail 3 was. Probably did not need it since next I went into Alien Skin’s Snap Art 4 and added the Factory Default settings from Snap Art 3 (which I manually created) and added a little more saturation – no mask layers. Back in Photoshop Topaz ReStyle was opened up and the bright oranges and reds were swapped out for blues and darker reds. I just liked theses colors better so that is what you see. Last step added a slight dark vignette around image using a Curves Adjustment Layer. This was such a nice colorful picture and the nice thing – no people around! Anyway, lots of fun to process using my favorite plug-ins…..Digital Lady Syd
Four Picture Triptych with Topaz ReStyle
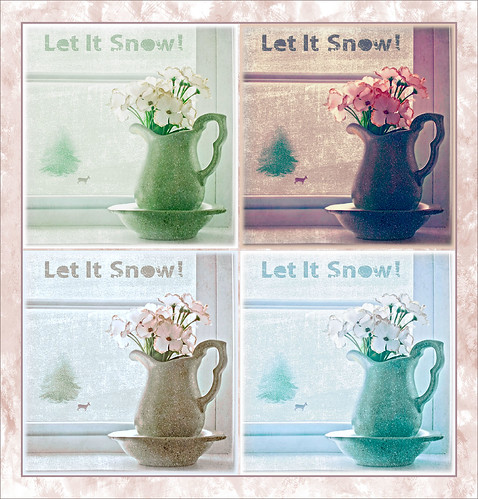
Well everyone probably knows by now that I love this little Photoshop plug-in from Topaz (see sidebar for website link). The original image was a low resolution Shutterstock stock photo (I could not find it on the website anymore) from Advanced Photoshop Magazine No. 25 CD from many years ago (not one to use stock photos but I loved this pitcher and flowers image). I actually did quite a bit to the original image – expanded it using Content-Aware Scale so there was more space on the left side, added my little tree I created in Corel Painter (it is getting a lot of use this season) and set it to Darken so the white background did not show up, added Shadowhouse Creations Tree Brushes Set #2 deer, and added Kim Klassen‘s beautiful Maybe and Peace Textures both set to Soft Light. My free SJ Snow 2 Overlay slight blur was applied at 79% opacity to just the pitcher to give it a ceramic dotted look. Next Kim’s Overlay 1 brush was used so it could be seen only in the window panes by using a layer mask. The font was Tramyad set to 40% layer opacity with an Inner Glow layer style added. Next a Levels Adjustment Layer was added to bring back contrast to the image and a High Pass Filter was used to add localized sharpening to the flowers only in a black layer mask. That was when the upper left green image was saved. The next three images all used different presets in Topaz ReStyle with some minor changes. I would list the presets, but two of them are from presets I used on other images. The frame texture is one I created in Corel Painter and added a Hue/Sat Adjustment Layer to it for the soft tan color. I love all four image effects! This is the biggest problem I have with ReStyle! Decisions, decisions! If you have not tried out this wonderful plug-in, download the trial and see what you think! Lots of fun!…..Digital Lady Syd
Digital Lady Syd Related Blogs:
Digital Lady Syd Reviews Topaz ReStyle
Using a Tych Panel to Show Off Your Images
Bamboo Forest Abstract
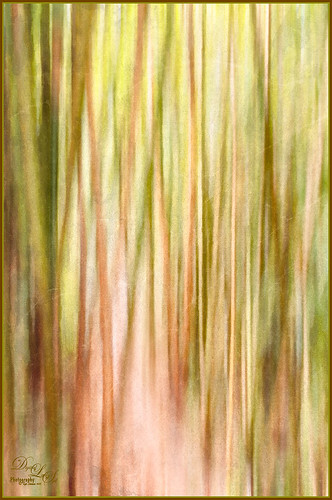
Got inspired by a short tutorial called Dustin Abbott’s Autumn Abstract with Snap Art 4 on Alien Skin’s website where he created this really interesting abstract painting. The image above is of a bamboo forest on the Big Island in Hawaii. I wanted a little less abstraction so some of the bamboo could be seen but the beautiful Hawaiian forest colors were the main interest. Therefore, I only used a Motion Blur Distance of 594 pixels. Next in Snap Art 4 Dustin Abbott’s Autumn Abstract preset (he graciously lets you download the preset in the tutorial link above) was applied. Back in Photoshop a layer mask was added where a few of the trees were painted back softly just to exaggerate the foreground tree shapes. Next Topaz ReStyle (see sidebar for website link) plug-in was added. (Started with Olivine Pastures preset to keep the Hawaiian green and pink colors intact. Color Style Hue Third -0.14, Sat Primary -0.28, Third 0.20, and Fifth -0.17, and Lum Third 0.63 and Fifth 0.59; Texture Strength 1.00; Basic Opacity 62%, Blend Mode Screen, Color Tint 0.16 and Sat 0.20; and Detail Structure 0.31.) The last step involved adding another of my favorite plug-ins, Nik Analog Efex Pro. (Used these filter settings: Basic Adjustments with Sat at 24%; Dirt & Scratches 82% using the last Organic thumbnail; Photo Plate Corroded – 2nd down 2nd over – at 20% Strength; and Levels & Curves with RGB and Luminosity Curves pulled just a little down and over at 81% Strength.) I think the image depicts exactly what I wanted to express – mainly emphasizing the gorgeous colors and the soft vertical feel of the forest. Give this technique a try and see what you can do……Digital Lady Syd
Digital Lady Syd Related Blogs:
Digital Lady Syd Reviews Alien Skin Snap Art 4
A Secret Garden
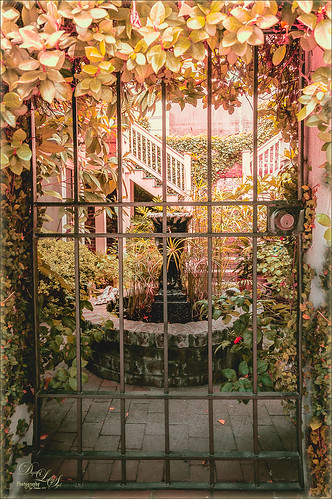
This was one of my favorite images from Savannah, Georgia, when visiting last month. Not a lot was done to this image although the Puppet Warp command had to be used to straighten out the walls due to the lens distortion. Also Topaz (see sidebar for website link) ReStyle was applied to get the pretty soft light effect – the settings were from a Test Preset when I first got the program so I am not sure where I started. Finished up with a little Nik Viveza 2 to direct the eye to the stairs. This image uses some of my favorite colors……Digital Lady Syd
Let’s Hear It for the Graphophone
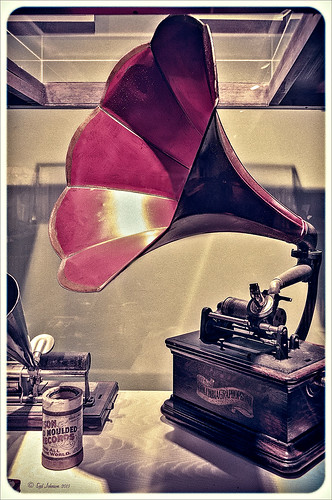
This image of a Columbia Grand Graphophone built in 1901 in France was taken at the Lightner Museum in St. Augustine, Florida. Really catches you eye when at the museum. Sears was selling it for $50.00 – it used 5-inch cylinder records and could also be used as a recorder. Apparently it came with different horns depending upon what you were doing. Just had fun playing with this image. In Lightroom the basic sliders were adjusted and some pretty crazy spit toning applied where a really pink tone was created. In Photoshop applied Topaz (see sidebar for website link) ReStyle’s Cream and Plum preset (only changes were to Black Level -0.22, Midtones 0.11, and White Level -0.73; and Detail Structure 0.44 and Sharpness 0.75). A Levels Adjustment Layer was added and all the tabs were adjusted (Black 3/Midtone 0.70/White 196) which created quite a bit of clipping in the image. It seemed to help with the reflections of glass. A little clean up and that was it. I love working on the old items – the materials and color are so nice……Digital Lady Syd
A Day in the Sun!
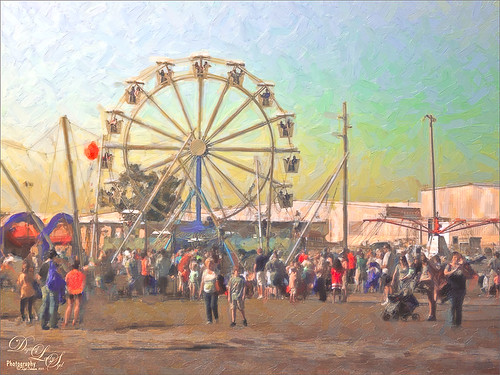
I love how this image turned out! This is from a wonderful day in Savannah, Georgia, at the Gulfstream Family Day in October. I wanted to go up in that Ferris Wheel, but did not get a chance to. I used a Lightroom preset on this image called Hang Ten from NAPP (the preset is referenced in Scott Kelby’s The Adobe Photoshop Lightroom 5 Book for Digital Photographers) – gives a real soft vintage feel and then Backlight Horizontal Left from Dave Delnea’s presets, some of my very favorites! In Photoshop two of my favorite plug-ins were used: Alien Skin’s Snap Art 3 was applied using just the Factory Default and adding three layers to bring in some more details; next Topaz (see sidebar for website link) ReStyle was applied using Silver and Ivory Cloak preset and then changing: Texture Strength -100; Temperature 0.14, Saturation 0.05, Black Level 0.38, Midtones 0.06, White Level 0.19, and Structure 0.27. A Curves Adjustment Layer and Levels Adjustment Layer were added to get the contrast just right. That was it – very simple. It really has that old County Fair feel to it!…..Digital Lady Syd
Just a Little Flowing Water
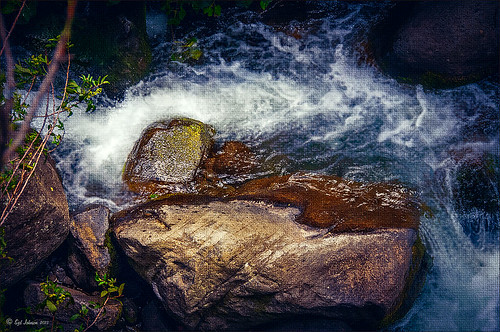
This is not a traditional image for me – I usually do not shoot flowing water, especially in close-ups, but with a little Photoshop help, I got a really nice look. The rock was in a stream at Iao Valley in Maui, Hawaii. Very little was done to this image – just basic changes in Lightroom which included using an Adjustment Brush set to 100 Clarity to smooth out the water areas. The thing that really made this image pop was opening up the Topaz (see sidebar for website link) ReStyle and selecting the Blue Dreams preset. The color combinations really changed a boring image into a beautiful image. I am amazed by what this plug-in can do! The Structure and Detail were increased on just the rocks and flowers using a Mask for this section inside the plug-in. I wanted the water to still look soft. Back in Photoshop a Levels Adjustment Layer was added where the Midtones tab was set to 0.82 and the Output Levels were set to 7/255. The last step was adding a Layer Style by double clicking a composite layer (CTRL+ALT+SHIFT+E) that I created on top. A Pattern Overlay was added using Photoshop’s pattern called Dark Coarse Weave set to Overlay blend mode, 65% opacity and a Scale of 128%. These settings can change depending upon the size and resolution of your image. Anyway, pretty easy to do and I love the result!…..Digital Lady Syd
Flower with a Shadow
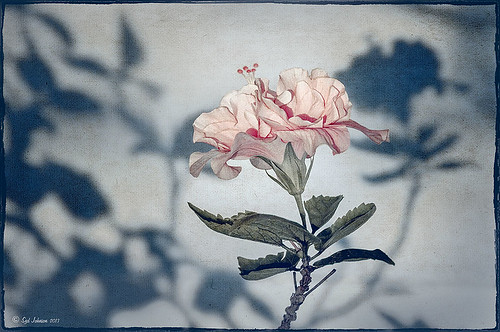
This beautiful hibiscus bloom was sitting just right to throw a shadow on a textured wall behind it. I bought some really beautiful Lightroom presets at Craft and Vision by Dave Delnea and applied his Washed Tropics Look 3 to this image. I have used it on a couple other images and really like the effect. The flower and stem were sharpened using an Adjustment Brush. Once opened in Photoshop Kim Klassen’s January Set 0801 texture was applied to add a little more texture to the image – it was set to Soft Light blend mode at 63% layer opacity. A Levels Adjustment Layer was added and the Midtone slider was set to 1.11 and the black tab moved to the edge of the histogram. The Output Levels slider was set to 19. A line grunge border was added to the edge. The image is now beige and light pink with a greenish shadow. It was taken into Topaz (see sidebar for website link) ReStyle and the Tiara Frost Preset was applied. A few changes were made to the Luminosity and Saturation of the colors and some Structure and Sharpness was added. These settings were applied and back in Photoshop the layer was set to 64% layer opacity. That is all that was done. I think the shadow looks fabulous in the background!…..Digital Lady Syd
Butterfly Season is Here!
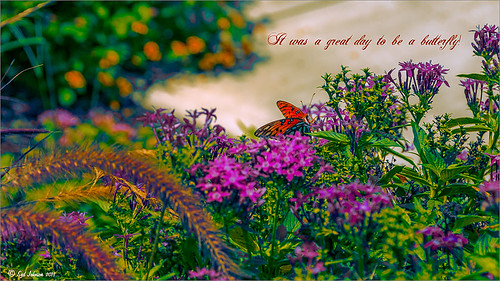
The butterflies are going crazy around my house this week! They love all the penta flowers and Bottle Brush bushes I have. This beautiful little Monarch was very busy totally enjoying all the different flowers to try out – there was some sharing going on with a huge beautiful Swallowtail butterfly and several varieties of bees! Very busy place today. This image used Matt Kloskowski’s That 70’s Look preset (in NAPP Lightroom presets – not sure when I got these) in Lightroom, which gave a very pretty look. But I decided to go into Topaz (see sidebar for website link) ReStyle just to see what would happen. I had created a preset on a Scottish image done earlier that worked very nicely. Got a little more of a colorful result. Nik Viveza 2 plug-in was then added on another layer and some of the color was adjusted using a few control points. A Curves Adjustment Layer was added on top for contrast. The text is a really old font called Abigail. That was it and I really liked the results…..Digital Lady Syd
Topaz ReStyle on a Black and White Image
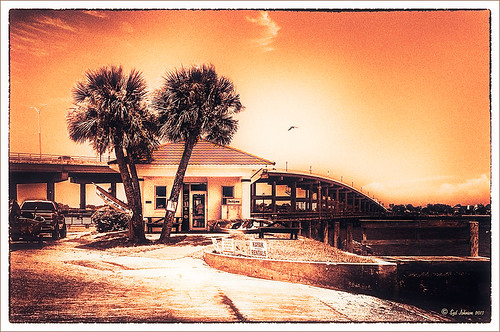
I totally loved how this image turned out. Once again this is the Intracoastal Waterway (ICW) looking back at the Granada Bridge in Ormond Beach, Florida. I had originally did just a black and white image using Nik’s Silver Efex Pro 2 using the High Key 2 preset as a starting point and then changed several sliders – brought the orange roof back on little shop. I just could not get the effect I liked. Then I took the image into Topaz (see sidebar for website link) new ReStyle plug-in and voila! – the totally different feel using the Orange Peel preset. (These are the changes made in the plug-in after applying the preset: Set Texture to -1.00, ReStyle Opacity 77%, and Hard Light Blend Mode; and Tint set to -0.16, Structure -1.00, and Detail -1.00.) This image now has a totally different feel with a color scheme I would never have considered. Check out this plug-in if you want something to give you image a real pop!…..Digital Lady Syd
Digital Lady Syd Related Blogs:
Digital Lady Syd Reviews Topaz ReStyle


