Think Pink! Rally for the Cure Pink Rose
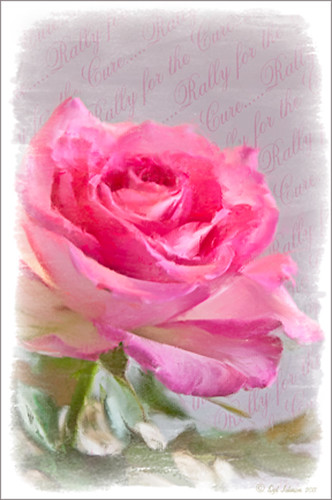 |
Since October is Breast Cancer Awareness month in the United States, last week I participated in a “Rally for the Cure” golf tournament. This beautiful pink rose came from this event. I am really pleased with the results for the above image that used the new Mixer Brush panel from one of my favorite Photoshop gurus, Russell Brown. Hover over the image to see the before photograph used to create this painterly effect.
One of the best new features in Adobe Photoshop CS5 are the Mixer Brushes. (See my Fun Photoshop Blog “Adobe Photoshop CS5’s Mixer Brushes” where I talk about how to use and create your own Mixer Brushes.) Dr. Brown created a new panel to load into Photoshop called the Painting Assistant that makes the whole painter process much simpler. I was able to create the above in very little time using this new panel. Basically it contains six button steps with very clear instructions listed – just click each button after you finish each step. This is pretty ingenious in my mind, but then that is what Dr. Brown is known for! To download the panel and a video, click here and scroll down to the 6th item. A text layer using the “Old Script” font was created and set on a slant using Free Transform – then a layer mask was used to paint out the lettering from the rose.
Give this technique a try, especially if you like the painterly look. It is very easy to do since the Mixer Brushes are already set up for your use. And if you get a chance to participate in a “Rally for the Cure” event, please do – they are always lots of fun and the proceeds could not go to a better cause!…..Digital Lady Syd
Tree Brushes and a Little Grunge
Having some Lightroom and Photoshop CS5 interface problems today so I am just going to post a little more tree fun I had a few days ago. I guess with the Fall coming upon us, I think about the trees losing their leaves and winter around the corner.
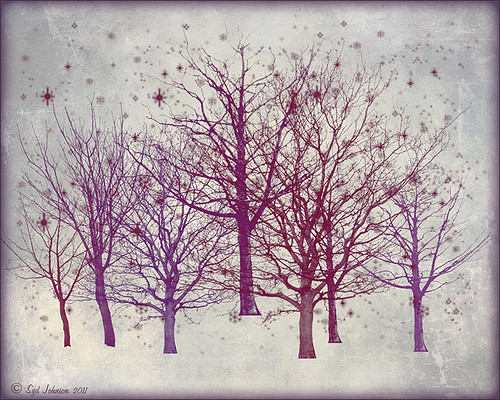
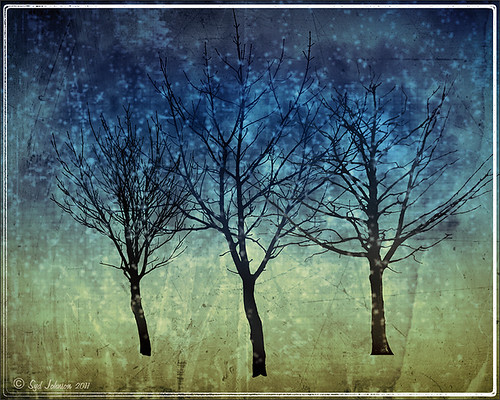
Both these images use tree brushes from Winter Trees by Melbrushes and Trees from c4grfx brushes. The first image used a texture from Shadow Creations Old Canvas 4 and the Glitter Brush Set by Obsidian Dawn. The bottom background was created using Paper Damaged brushes, Gorguss Grunge Again 3 and 9 (click upper right hand corner for link), my SJ-Basic Soft White Cloud Brush (for dark area behind trees), and the plug-ins: Topaz Effects Black and White plug-in (see sidebar for link) , a Nik Color Efex Pro 3.0 Bi-color filter plug-in, and an OnOne PhotoFrame plug-in (see sidebar for link). Check out my Tidbits blog called “Just a Tree!” for another example.
Hopefully I will be back up and running with both my programs by next week. Until then, try downloading some of these brushes and play around a bit. You can get some pretty interesting looks!…..Digital Lady Syd
Just a Tree!
Sometimes I find that combining recent effects I have learned in Photoshop can create something that is quite unique. Obviously not all things I create are that great, but even so, I am learning something about how all the different elements go together. This image is an example of this type of creativity. Just had fun putting together some of my favorite brushes and filters and came up with this tree.
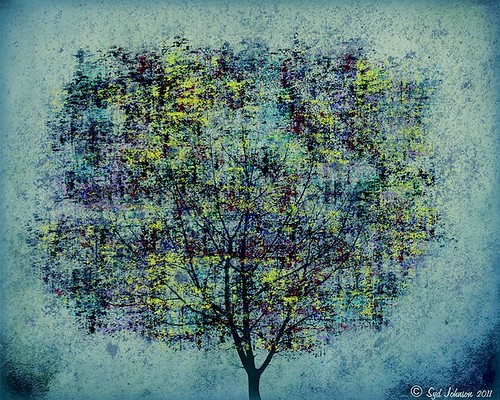
The tree is one of Mels Winter Tree Brushes placed on a layer above the background, and on the next layer foliage was added using several of Gorguss Grunge Again (click on upper right – Photoshop Brushes) brushes. Both brush sets are favorites of mine. Two of ShadowHouse Creation Textures (5 Assorted Textures Set and Vintage Oil Painting Texture Set-2) were stacked underneath. A composite layer was made (CTRL+SHIFT+ALT+E) and opened up in Topaz B&W Effects plug-in (see sidebar for link) – a Cyanotype Collection preset was used to get the bluish appearance, and the Transparency was lowered so some of the colors showed through. Back in Photoshop a new layer was created on top and using Texturemate’s Rough Sand Texture brush 9 in blue on top at 70% opacity. That was it. I really like the effect.
It can really be a lot of fun to mix and match – give it a try!…..Digital Lady Syd
Brushing up on Circles!
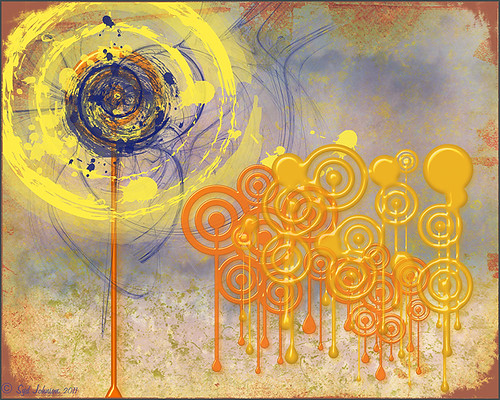
Well, for some reason I felt a little inspired and decided to play around with some really nice circle brushes. I know I have seen a similar look in some of the images sold in discount stores. With a couple textures added, a very nice grunge look can be achieved, and the best part is that you can choose your own colors to get the feel you want.
If you are interested in the circle brushes, both sets can be downloaded from Ar-Bent-Ing called 10 Dripping Photoshop Circle Brushes and 15 Grunge Circle Brushes. A couple textures, one from Shadowhouse Creations, were added, some layer styles to the brush layers, and basically that is it. Not real hard and a lot of fun! (Digital Lady Syd’s Rule No. 2) ……Digital Lady Syd


