Eastern Lubber Grasshopper
Had to get load my camera with my favorite 60 mm F/2.8 macro lens (with my Bower 0.5 x High Definition Wide Lens attached) to get some pix of this crazy (and major hungry) grasshopper. Never seen such a large grasshopper in my life. (I could actually hear him chomping in the garden)! He was playing peak-a-boo with me while I was taking the images. Topaz Sharpen AI did a fabulous job capturing all the beautiful detail on this insect. Then just some dodge and burn for more on his details (see my The Best Dodging and Burning Technique! blog), an Autumn Colors Lookup Adjustment Layer, Black and White Adjustment Layer to adjust the tones, added a highlights layers and a shadow vignette, and ended up with a Curves Adjustment Layer. He really is quite a spectacular kind of guy!…..Digital Lady Syd
Hibiscus Stamen

This interesting stamen was part of a huge Hibiscus flower at the Harry P. Leu Gardens in Orlando, Florida. Luminar (see sidebar for website link) Flex was used to sharpen up a stacked macro image. Then PS mixer Flat Blender was used to paint and add texture into the strokes. A variation was created to add color using the same brush. One of my Corel Painter Textures was added on top – the Blend If sliders were used to add a little more texture effect in the background. It took a while to finish up, but it was a lot of fun to create!…..Digital Lady Syd
Beautiful Leaves

This macro image was taken with my 60 mm Nikor Lens at F/2.8 with a Bower 0.5 x High Resolution Digital Lens with Macro added to the lens. This leaf image taken at the Harry P. Leu Gardens in Orlando, Florida, was actually turned into black and white in Lightroom before bringing it into Photoshop. In the Camera Raw Filter a profile called Underworld was added to turn it more of a dark blue and white which was really kind of nice. Viveza 2 was used to emphasize certain leaf parts and a Gradient Map was used to turn the color to green and white. I thought it looked more natural in green. Some clean up was done along with Darken and Lighten Curves Adjustment Layers. A Color Balance Adjustment Layer finally adjusted out the tones. A slight vignette was added to finish up!…..Digital Lady Syd
Splendiferous Bougainvillea

The beautiful blooms above are growing in my front yard right now – they are quite pretty and textured. Shot manually My 60 mm Nikkor macro lens was used with a Bower 0.5 x High Resolution Digital Lens with Macro added to the lens. I always love the results of this lens. Luminar 3 (see sidebar for website link) was used to bring out the detail (used Structure, Details Enhance, Image Radiance, and Top and Bottom filters). A mixer brush was used to smooth out the background. The font is called Beauty Angelique. Nik Viveza 2 was used to further highlight the focal area. That was it!…..Digital Lady Syd
The Ant and the Plant
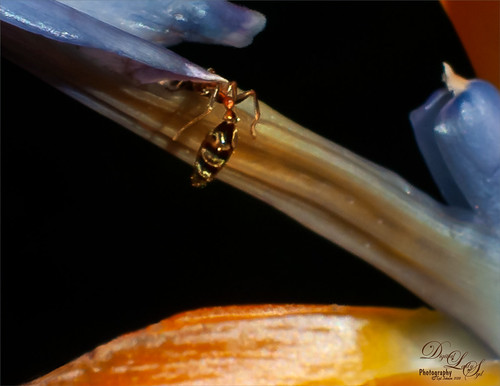
This image was taken of my Bird of Paradise bloom in my yard and it had this busy, busy ant clamoring all over it. Not sure what an ant like from the plant, but he definitely was not too concerned about me taking him image. My 60 mm Nikkor macro lens was used at F/11 and 1/350 sec. A Bower 0.5 x High Resolution Digital Lens with Macro was added to the lens. Very little was actually done to this image. Just used a close crop, a little clean up on the plant, and a spotlight effect placed on the ant. It was a lot of fun to watch this little guy…..Digital Lady Syd
Orange Daisies
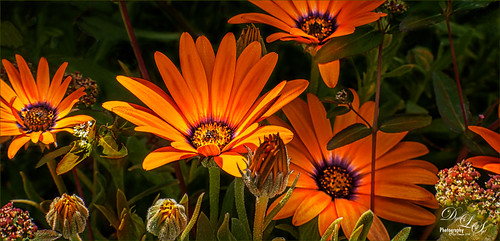
Found this image of some orange daisies from my yard taken a while back. It was a macro shot using a 60 mm lens with a Bower 0.5 x High Res Lens at F16. In PS Luminar 2018 (see sidebar for website link) was opened and the Details Enhancer filter, Structure filter, and the Top & Bottom Lighting filter were used. Then in PS just did a little clean up on the petals and the background, and added several layers to lightly spotlight various parts of the image. Finished up using Matt Kloskowski’s vignette (see my How to Create a Subtle Vignette blog). These flowers were so pretty to photograph!…..Digital Lady Syd
The Rosebud
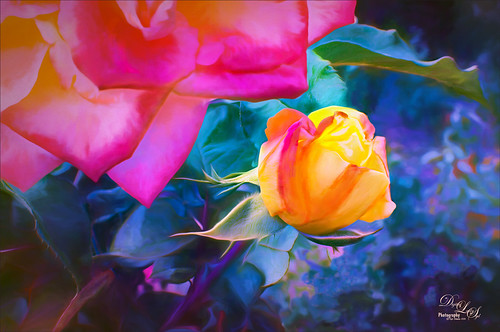
The image was taken at the Harry P. Leu Botanical Gardens in Orlando, Florida in the rose section. This is a beautiful place to photograph flowers – in this case the image was shot at F/22 with my Nikon 60 mm Macro Lens with a Bower 0.5 x High Resolution Digital Lens added to the lens. I know, odd settings but I was experimenting and loved the result. The key to getting this image effect was getting a very clear detailed shot. In Lightroom just basic changes were made and a little sharpening was applied to the bud with an Adjustment Brush set to Clarity 77 and Sharpen 83. Then in Photoshop Lucis Pro (no longer available) was set to Split Channel with Enhance sliders set to R157/G233/B59 and Green Smooth slider set to 25. On a stamped layer (CTRL+ALT+SHIFT+E) was placed above and Topaz (see sidebar for website link) Impression 2’s Georgia Okeefe II preset was applied. In a white layer mask some of the edges were painted out to keep them sharper. Next on another stamped layer Topaz Lens Effects Selective Vignette set to Olive Green preset with effect centered on the bud. Back in PS the layer opacity was set to 74%. Hope to be able to reproduce this result again!…..Digital Lady Syd
The Perfect Plant
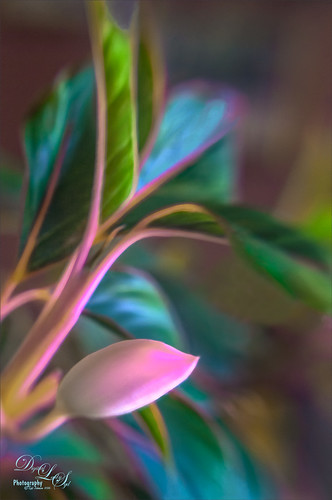
This pretty plant sits on my kitchen table and I am not sure what kind of plant it is, possibly a Sherbert Ti. It creates pod looking objects that open up into leaves. This image was taken with my old Lensbaby Composer and was set to F/4 with the +10 Macro Lens attached. On a duplicate layer in Photoshop, Topaz (see sidebar for website link) DeNoise was opened and the Overall slider was set to 0.10 and Shadows to 0.20 – not much adjustment at all. Topaz Glow 2 was applied on a stamped layer (CTRL+ALT+SHIFT+E) using Blake Rudis’s Glow for Animals Settings preset and set to Color Dodge blend mode. (To download the presets that were for Glow but work fine in Glow 2, click on his Topaz Glow Webinar.) The now free Nik Viveza 2 was opened on a stamped layer and two control points were used – one to sharpen the pod as the main focal point and one to soften the blue in the background leaf. A Luminosity Red Channel Curve Adjustment Layer was added on top. (See my How To Use a Red Channel to Create a Nice Blended Image Effect blog for more info on this.) A little clean up layer and that was about it. Love what this Lensbaby does for a macro effect!…..Digital Lady Syd
Spotlight on the Canna Lily
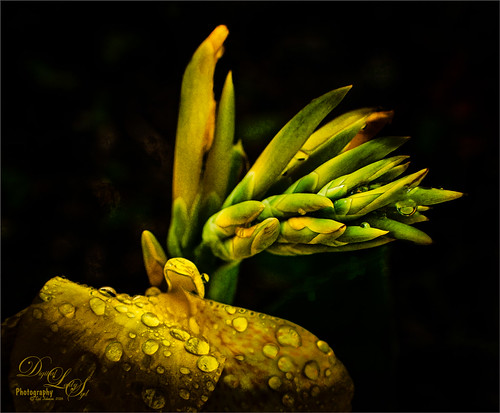
This is a macro image of a Canna Lily in my front yard taken after a recent rain. It was taken at F/2.8 with my Nikon 60 mm Macro Lens with a Bower 0.5 x High Resolution Digital Lens with Macro added to the lens.In Photoshop Topaz (see sidebar for website link) Simplify using BuzSim preset, the currently free JixiPix Spectral Art Dark Lines preset, and free Nik Viveza 2 to drive the focal point home. Last step was to add my free Cat Painting Canvas set to Overlay blend mode on top. That was it. Really simple image but I love the water drops!…..Digital Lady Syd
Little Fern Flowers
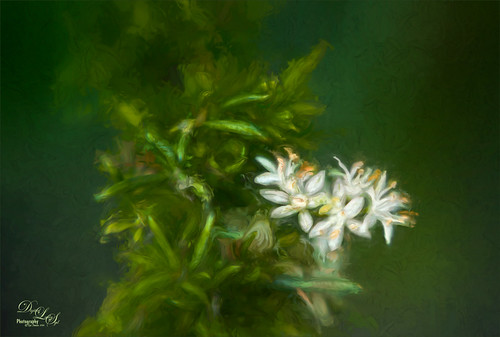
This image is of little white flowers growing out of the top of a Foxtail Fern or Asparagus Ferns in my yard. An older Lensbaby Composer was used – set to F/4 and using the Macro +10 lens. In Lightroom Seim’s (see sidebar for website link) Super Super HDR X preset was applied to the image before going to Photoshop. Used a Hue/Saturation Adjustment Layer to remove just a little haloing on the edges of the white flowers. On a stamped layer (CTRL+ALT+SHIFT+E) Lucis Pro was applied. (Settings: Assign Original Image Color 31%/69%; Enhance Red 147/Green 87/Blue 47.) See my Digital Lady Syd Reviews Lucis Pro 6.0.9 (Now Affordable!) blog for info on this. A black layer mask was added and just the white flowers were painted back. On another stamped layer Topaz (see sidebar for website link) Impression 2’s was opened and my SJ Renoir WC Look preset was applied at 71% layer opacity. (Settings: Stroke Type 13, Brush Size 0.73, Paint Volume 1.00, Paint Opacity 0.91, Stroke Rotation 0, Stroke Color Variation 0, Stroke Width 0.65, Stroke Length 0, Spill 0.79, Smudge 0.55, Coverage 0.67, Coverage Transition 0.30, Cover center X0/Y0; Color Overall Hue 0.07, Sat 0.15, and Lightness 0; Red Sat 0.50; Orange Sat 0.50; Purple Hue 0.85 and Sat 0.65; Lighting Brightness 0.08, Contrast 0.12, Vignette 0, Light Direction X-0.27/Y0.15; Texture Strength 0.11, Size 1.00, Background Type – solid white, and Background – #b25b41.) On a New Layer used the Smudge Tool to smooth some areas. On yet another stamped layer, the now free Nik Viveza 2 was applied to adjust the focal point just right. That was it! Was a lot of fun to take the shot and paint the image!…..Digital Lady Syd
The Mighty Ant
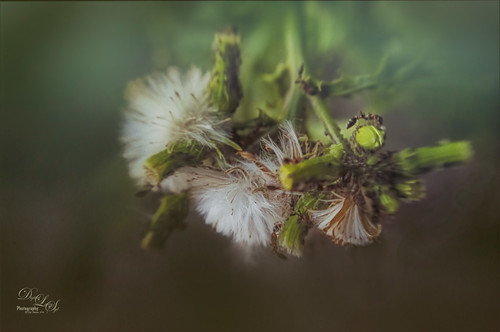
For some reason, this dandelion weed has grown to some humongous size by my front door in this major hot summer we are having and the ants are having a ball tromping all over it! I decided to pull out my old Lensbaby Composer set it to F/4 and Macro +4 lens to get this guy doing some kind of balancing act on a bud. This pretty much is how the image looked out of camera. I love the soft DOF you get with the Lensbaby. On a duplicate layer the now free Nik Color Efex Pro 4 was opened. The Detail Extractor was applied to mainly just the ant and a little bit of the foreground to give it a little more sharpness, and the Vignette Filter was used where a darker green color was sampled from the image to soften the bottom. Back in PS, Topaz (see sidebar for website link) Texture Effects’s Crisp Morning Run preset was applied (removed Adjustments, and added Diffusion panel, changed the Blur to 0.42, then painted back the ants, then set Strength 0.58, Softness 1.00) to get the beautiful turquoise effect in the background. I had not used this lens in a long time so it was a lot of fun to use!…..Digital Lady Syd
What the Worm Saw
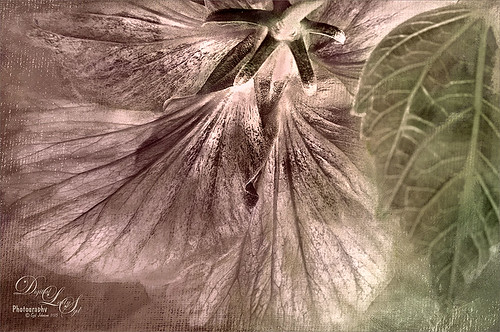
This was a macro image I took for a Photo Club Theme called What the Worm Saw. I did not submit it (got a little over creative actually and tried something not so great). This is the underside of a Red Hibiscus bloom and I just liked the result. Used Topaz (see sidebar for website link) Clarity to sharpen it overall. Used Nik Silver Efex Pro 2 to turn it to black and white. Next a Color Balance Adjustment Layer was used to add a little green in the Midtones. Painted Textures Trees in May texture was added next with a layer mask and the bloom and leaf were painted back in the mask. A Nik Viveza 2 filter was added to emphasize the focal point of the image. To get the pinkish tone on the flower, a light pink gradient layer was placed on top. The last step was a Curves Adjustment Layer to get back a little contrast. Something a little different for me…..Digital Lady Syd
Yellow Dogface Butterfly in her Glory!
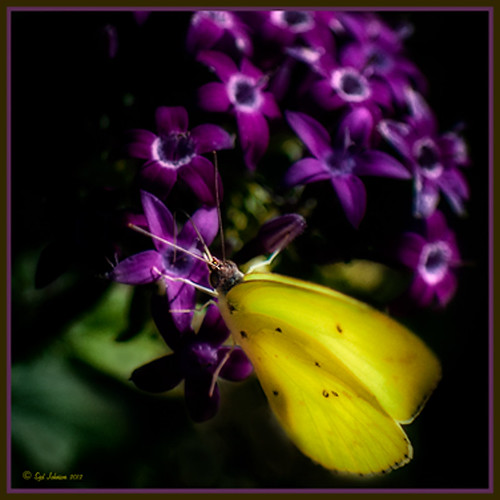
This Southern Dogface Butterflies (named for their heads that look like French poodles) visited my purple pentas this fall. They are very skiddish butterflies and are hard to photograph. I used my 60 mm Nikon Macro Lens to catch the shot at F/3.2, 1/2000, and ISO 200. The image was processed first in Lightroom 4 using the workflow from my How to Use Adobe Camera Raw (ACR) or Lightroom 4 Quickly blog. To create the soft effect, Nik Color Efex Pro 4 was applied with several filters stacked: Midnight using Neutral Color Set, Glamour Glow with Glow set to 90%, Vignette, and Film Efex Vintage set to Film Type 2 and an Overall Opacity of 40%. The Sharpen Tool was applied to the face. Nik Viveza 2 was applied to soften the bright tones in the background and to sharpen the head a little more. My Mid Size Double Edged Frame was added to the image to finish up. I really enjoyed working on this image – it has a different feel to what I normally do……Digital Lady Syd
Just Bloomin’ Beautiful!
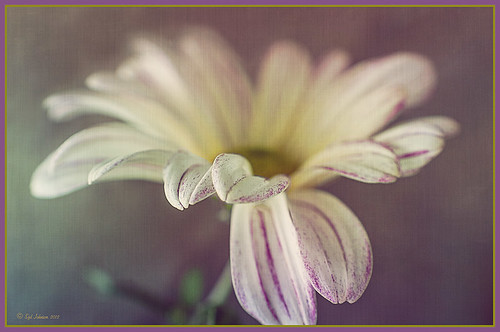
This miniature mum was in bloom again for the fall season. Just beautiful! This image was taken with my Micro Nikkor 60 mm f/2.8 macro lens set to Manual mode, 1/90 sec, F/5.6 and ISO 200. Very little processing but did use Flypaper Texture Rainbow Trout Taster and my Double Edge Frame Layer Style sampling the Inner Shadow color from the image. Enjoy!…..Digital Lady Syd
Digital Lady Syd Related Blogs:
The Macro Shot
Beautiful Soft Flowers
Little Green Frog’s Makeover Using Nik’s Color Efex Pro 4!
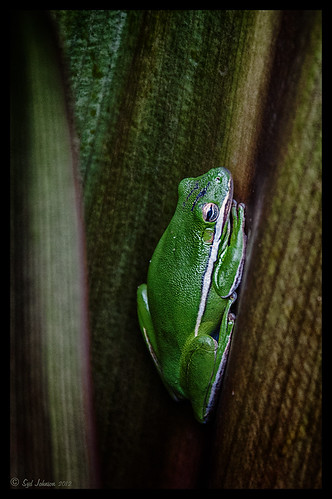
This little guy was hiding between a couple Queen Emma Lily leaves during a rather heavy rainstorm. Had to get his picture! He is a Green Treefrog and is one of the reasons I don’t get a good night’s sleep this time of year, but his coloring is beautiful!
I tried several different effects before settling on a recipe of Nik’s Color Efex Pro 4 filters. These filters were stacked as follows: Detail Extractor set to an Overall Opacity of 50%; Midnight using Neutral Color Set, the Blur slider reduced to 8%, and Overall Opacity of the filter set to 80%; Vignette Lens centered on frog and Overall Opacity set to 53%; and Image Borders – just a plain Type 13. This is a reminder that you don’t have to use the filter effect at 100% – just open up the Control Points panel at bottom of each filter panel and an Opacity slider appears that can be adjusted for the amount you want. Back in Photoshop, I used the LAB Sharpening technique to sharpen up just his body a little (see my blog Unsharp Mask Filter in LAB Mode). A Curves Adjustment Layer was added to increase contrast just a little and that was it. He has no idea how handsome he is!…..Digital Lady Syd
Digital Lady Syd Related Blogs:
NIK Color Efex Pro 4 – Digital Lady Syd’s Review!
Pseudo HDR Using NIK Color Efex Pro 4
White Daisies! Using Color Efex Pro Midnight Filter
Nik Color Efex Pro 4 Just Does It Right!
Beautiful Soft Flowers
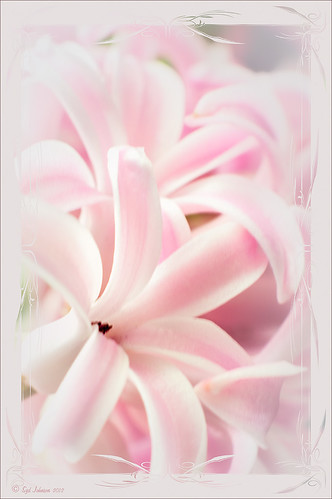
Just loved the pink hyacinths I bought – hope they will come back next year! This image was taken with my Micro Nikkor 60 mm f/2.8 lens at f/9.5. Used Mike Moats workflow (see info on this in related blogs below) with Color Efex Pro 4 (stacking Tonal Contrast, Darken/Lighten Center, and Vignette filters) added first and then Viveza 2 to make the details sharp. OnOne PhotoFrame napp_frame_12 (see website link in sidebar) was added. Final result – beautiful!…..Digital Lady Syd
Digital Lady Syd Related Blogs:
Using NIK’s Color Efex Pro 4 and Viveza Together
Nik’s Viveza 2 Plug-In – A Hidden Gem!
The Macro Shot
The Macro Shot
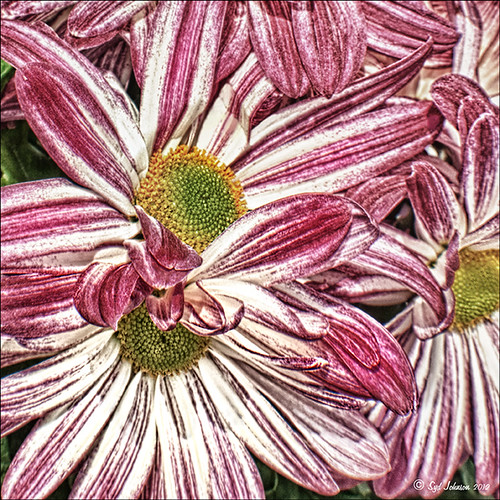
Recently I have been working on my Macro photography, especially since I have had some beautiful flowers on my porch due to the warm winter we are having in Florida this year. One of my favorite blogs is by Mike Moats called Tiny Landscapes where he gives some great advice on taking and processing macro images. A few things I am starting to try and the above chrysanthemums are the result of one of my efforts. A 60 mm Nikkor macro lens was used at F/19 at 1/20 to 1/350 sec. A Bower 0.5 x High Resolution Digital Lens with Macro was added to the lens. I created an HDR image from five shots which is how I got the large dynamic range in the photo. After that the processing was in Nik Color Efex Pro 4 using Tonal Contrast, Detail Extractor and High Key filter effects and Viveza 2. This is the basic workflow Mike Moats uses and it works very well on macro photos. My original shot was taken with a white background but I just did not like the way it looked. Mike says if you do not like the background feel, crop tight, which is what I did. I hope to try out some of his other tips in the near future – it is a lot of fun to take those close up shots…..Digital Lady Syd


